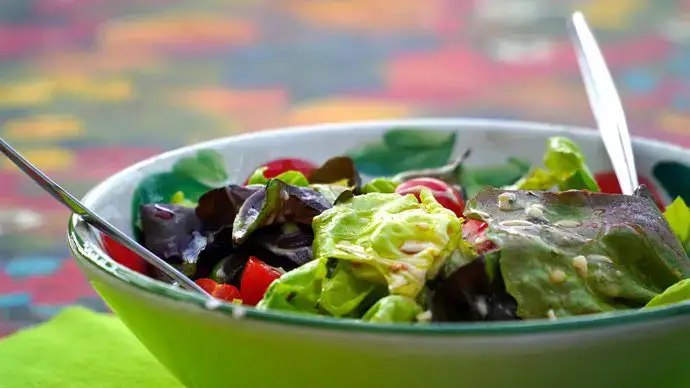
If you love to mix and serve green salad regularly, you’ll definitely find it handy to use a salad bowl. A salad bowl is shallow on the sides and large and round compared to other types of bowls.
Since salad bowls are made for holding salad ingredients they don’t have much depth as that of other kinds of bowls. It’ll make your life much simpler and easier as it’s often multipurpose.
Moreover, it might even inspire you to eat fruits and vegetables on a daily basis and lead a healthy life. However, there’re various types of salad bowls available in all shapes and sizes but the main difference is in the materials they’re made of.
In this post, I’d like to share different types of salad bowls along with details of their materials. Let’s check the post thoroughly so that you make the right choice. Keep scrolling to get more.
Types of Salad Bowls Available in the Market
One of the most important things that you must consider while choosing a salad bowl is its material. Wooden bowls are widely popular as are stainless steel, ceramic, glass, and melamine. Before you choose a salad bowl for your kitchen, consider the different ways you want to use it.
However, there’s a complete list of different types of salad bowls just below. Let’s check the list out so that you can get your required one easily.
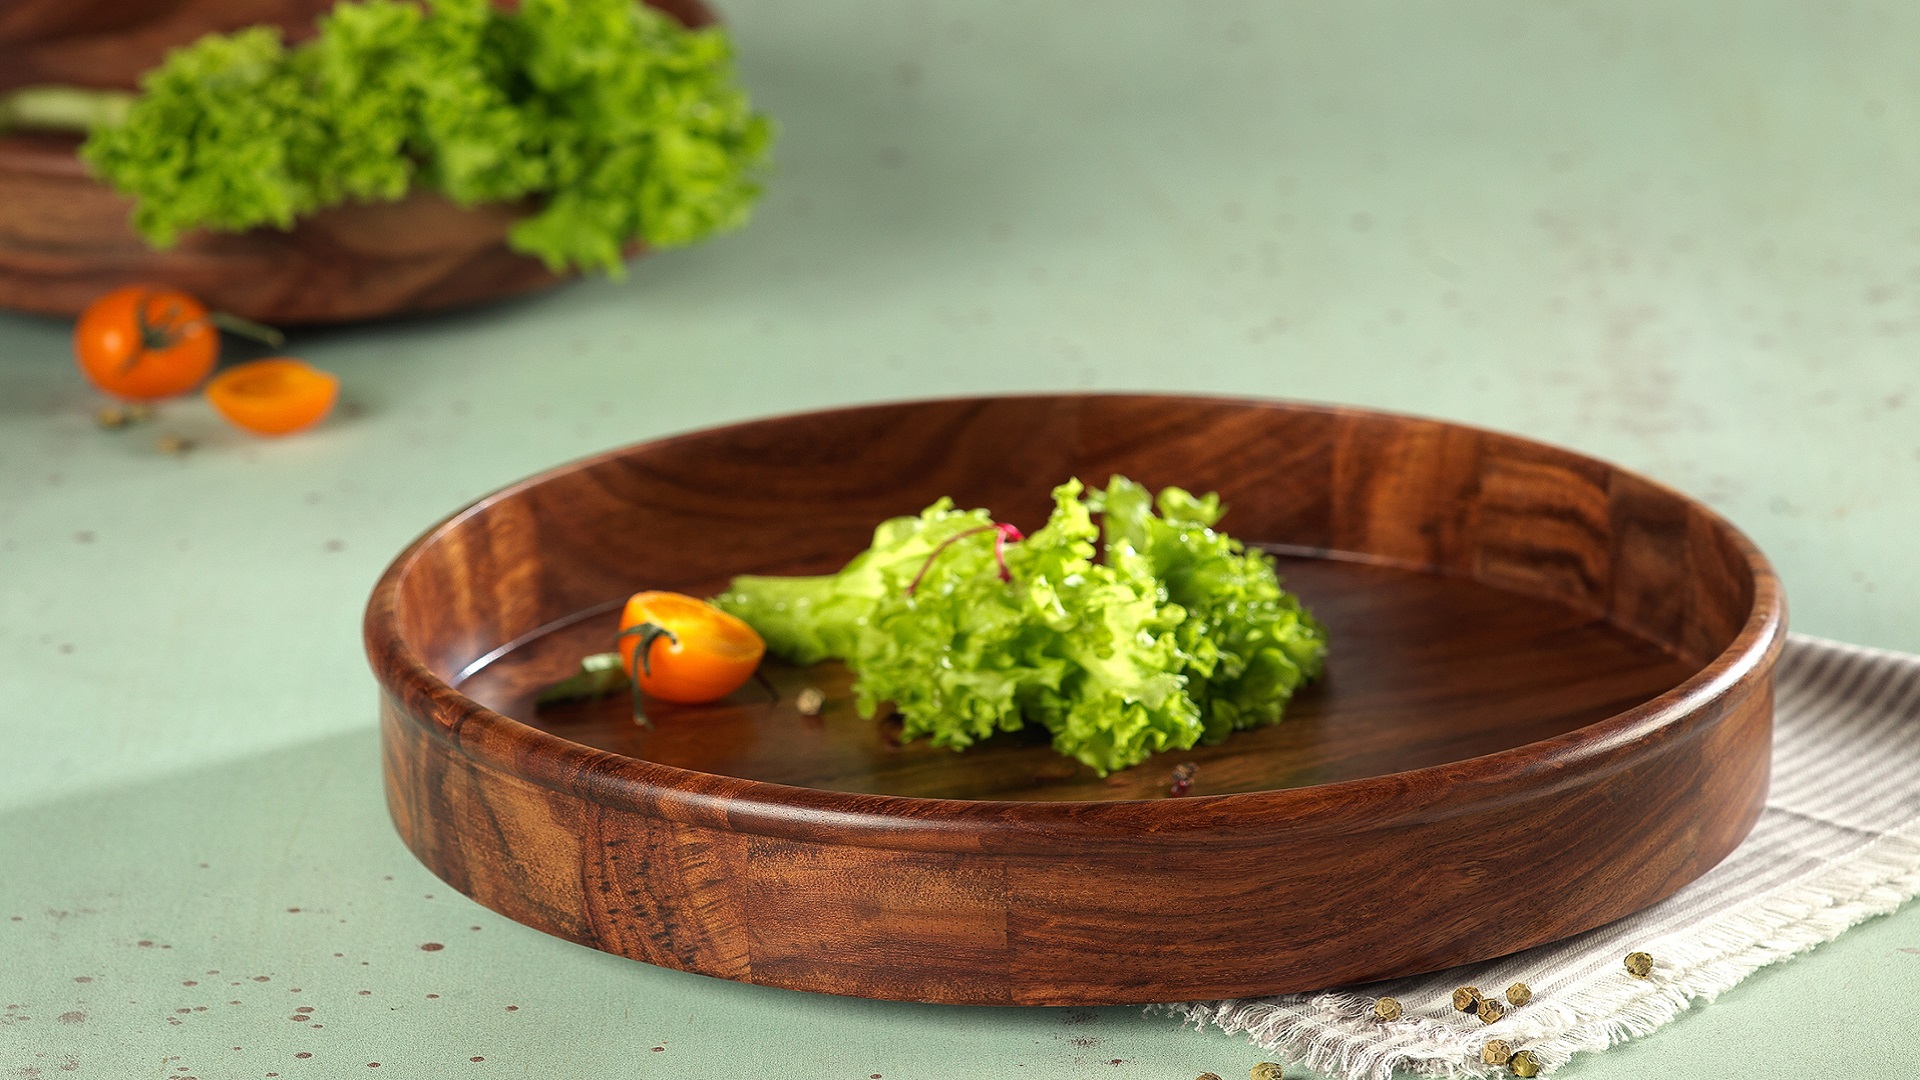
Wooden Salad Bowl
Natural materials such as wood can bring a warm and beautiful element to your salad bowls. They are eco-friendly and also have no side effects expected even after long time use. Wooden bowls can either be hand finished or pre-finished. Pre-finished means it already has a varnish applied to it that makes it waterproof and more attractive to look at.
To hand finish your wooden bowl, all you need to do is to apply seasoning oils, walnut, or mineral oil. It would be good to rub beeswax onto the wood along with mineral or walnut oil to make the bowl more durable. This will prevent your wooden bowl from any kind of unexpected cracking since some parts may dry without any oil.
Hand-Finished wooden salad bowls come with a cozy and earthy touch. However, it could look nice and pleasant if you can match it with the right utensils and proper table preparation.
Bamboo Salad Bowls
Bamboo salad bowls have proven to be remarkably popular all over the world in the last few years. Nowadays people are becoming more ecologically conscious all along with global warming at the lead of public consciousness.
The most noticeable thing is that you can now buy disposable bamboo plates and dishes also. They’re completely biodegradable as well as eco-friendly which means they’ll not harm the environment in any way.
The bamboo salad bowls that you can buy are not something that you need to dispose of them after just you use them for once. You can reuse your bamboo salad bowls many times if you are willing to clean them by hand. They are great for mixing and serving salad and will look amazing on your dining table.
Glass Salad Bowl
The most common salad bowls that anyone prefers to use for mixing and serving salad is the glass salad bowl. Using glass salad bowls will be a great idea if you want the salad to be seen through the bowl. Because of this material, you can easily spot out if the ingredients have been tossed completely.
Moreover, you can also put this type of salad bowl in the refrigerators to keep your ingredients cold and fresh for longer. There’s nothing to worry about the color and taste of your salad being affected when you’re using a glass bowl.
However, the only problem with glass bowls is that they can easily break or crack when dropped on the floor.
Ceramic Salad Bowl
Ceramic salad bowls are also widely popular across the world because of their warm and attractive look. While they are not indestructible but definitely a little bit more durable than your regular glass bowl. A really nice ceramic salad bowl can be very visually appealing on your dining table with its distinct look.
These salad bowls are excellent because they are just so convenient in every situation. In spite of mixing salad, you can use these bowls as serving bowls as well. Moreover, you can also use your ceramic salad bowls to decorate your kitchen as they really are very pretty.
However, ceramic bowls are also can break or crack easily like glass when dropped on any hard surface. So, you need to be careful while cleaning or storing your ceramic salad bowls.
Melamine Salad Bowl
If you’re looking for a salad bowl that can be used for everyday life as well as easy to clean, then you can go with melamine. This kind of salad bowls is made with strengthening materials to prevent them from unexpected cracking or breaking.
Even though there were concerns in the previous over the safety of melamine dishes, the FDA has declared this material safe to use. Moreover, there’re no harmful chemicals in the melamine bowls that can harm your health means you can use them without any fear.
Moreover, melamine bowls can be washed in the dishwasher without any fear of breaking or cracking. These bowls are extremely durable and will not shatter if dropped or used with very cold food.
Porcelain Salad Bowl
One of the main benefits of using porcelain salad bowls is that they’re really lovely to look at. You can purchase these salad bowls in various colors, designs, styles, and sizes according to your taste and requirement.
Since these bowls are usually heavier than the other types of salad bowls, they’ll not move around on the countertop while you’re using them. Unfortunately, porcelain is very prone to chipping and cracking and it is very easy to damage accidentally.
So you must pay enough care and attention while using these bowls in order to keep them safe.
Acrylic Salad Bowl
The Acrylic salad bowl is as sturdy as it is pretty and beautiful. This kind of salad bowl offers great balance because of its stable structure. Since these bowls are made of high-quality material and are BPA-free, they’re safe to use for regular life.
The clear and elegant design of these beautiful bowls will match amazingly the rest décor of your kitchen. Moreover, high-quality Acrylic salad bowls are break-resistant as well as shatterproof that makes them convenient to use.
However, some low-grade Acrylic salad bowls are prone to scratching and cracking so it’s recommended to handle the bowl with care while using.
Plastic Salad Bowl
This is probably the least expensive salad bowls available in the market. Compared to other types of salad bowls like glass or ceramic, plastic tends to be last for longer for obvious reasons. These salad bowls are effectively indestructible, making them the choice for a picnic or outdoor parties.
Moreover, plastic salad bowls come in different colors, sizes, and shapes so you can choose a bowl that’ll match your table preparations. The main disadvantage of plastic salad bowls is that you cannot leave them on a too hot surface like a stove or an oven.
Lighter plastic salad bowls, in particular, are also prone to retaining odors and stains as well. That’s why it’s always recommended to choose high-quality plastic salad bowls while buying.
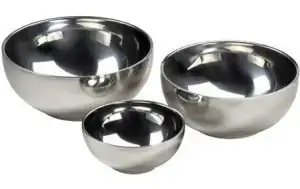
Stainless Steel Salad Bowl
Stainless steel is probably the least common material for salad bowls. However, that doesn’t mean it is less durable or attractive than other types of salad bowls available in the market.
Some people prefer to serve their salad on a glass, wood, or plastic bowl than stainless steel material. Stainless steel salad bowls are sturdy, lightweight, and also do not cheap easily.
Moreover, this type of salad bowl doesn’t retain the smells or flavor of previous ingredients, unlike plastic. These bowls can also be used for multipurpose rather than a salad bowl in your kitchen.
Last Words
In conclusion, salads are definitely a great way to stay healthy and raise your intake of veggies and fruits. Having the right bowl to prepare your favorite salads will help you to get creative and make the most of your tasty ingredients.
However, while choosing salad bowls for your kitchen, you should also consider the number of people you’re going to serve. This will help you to find out the right salad bowl of appropriate size.
You can also choose a salad bowl that matches the other utensils and dinnerware that you already own.